How to Add In-Game Shop in Minecraft Server: A Step-by-Step Guide
Adding an in-game shop to your Minecraft server can enhance the experience for players, providing them with an engaging way to acquire items, resources, and services. Whether you operate a survival server, a role-playing server, or a creative build, an in-game shop can add depth and interactivity to your environment. In this guide, we will walk you through the essential steps to set up an in-game shop using popular plugins and configurations. Let’s get started!
Step 1: Selecting the Right Plugin
First and foremost, you need to choose a suitable plugin that facilitates the creation of an in-game shop. Popular plugins for this purpose include:
- EssentialsX: This plugin offers a variety of useful commands, including a basic shop system.
- ChestShop: A highly popular plugin that allows players to trade items through chests.
- ShopGUI+: An advanced shop plugin that provides a user-friendly GUI for accessing shop items.
For this guide, we will focus on ChestShop, as it is beginner-friendly and widely used.
Step 2: Installing the Plugin
After selecting your plugin, the next step is to install it on your server.
-
Download the Plugin: Visit the official ChestShop page, and download the latest version compatible with your server’s Minecraft version.
-
Add to Plugins Folder: Upload the downloaded
.jarfile to the plugins folder located in your server’s file directory. If you are using a hosting service, you might find this folder in the control panel. -
Restart the Server: After placing the plugin into the plugins folder, restart your Minecraft server to allow the plugin to load.
Step 3: Configuring the Plugin
Once your server is back up and running, you will need to configure the plugin settings to suit your needs.
-
Locate Configuration Files: Within the ChestShop folder in your plugins directory, find the configuration files. The primary file you will want to edit is
config.yml. -
Settings Adjustments: Open
config.ymlusing a text editor. You can adjust settings such as the default currency (e.g., economy plugin you are using) or message displays. Customize these settings as per your requirements. -
Save Changes: After making your adjustments, save the configuration file and close the editor.
Step 4: Setting Up the Shop
Now it’s time to establish your actual shop within the game.
-
Select a Location: Decide where you would like to set up your shop in the Minecraft world. Ensure it’s a well-trafficked area where players will easily notice your shop.
-
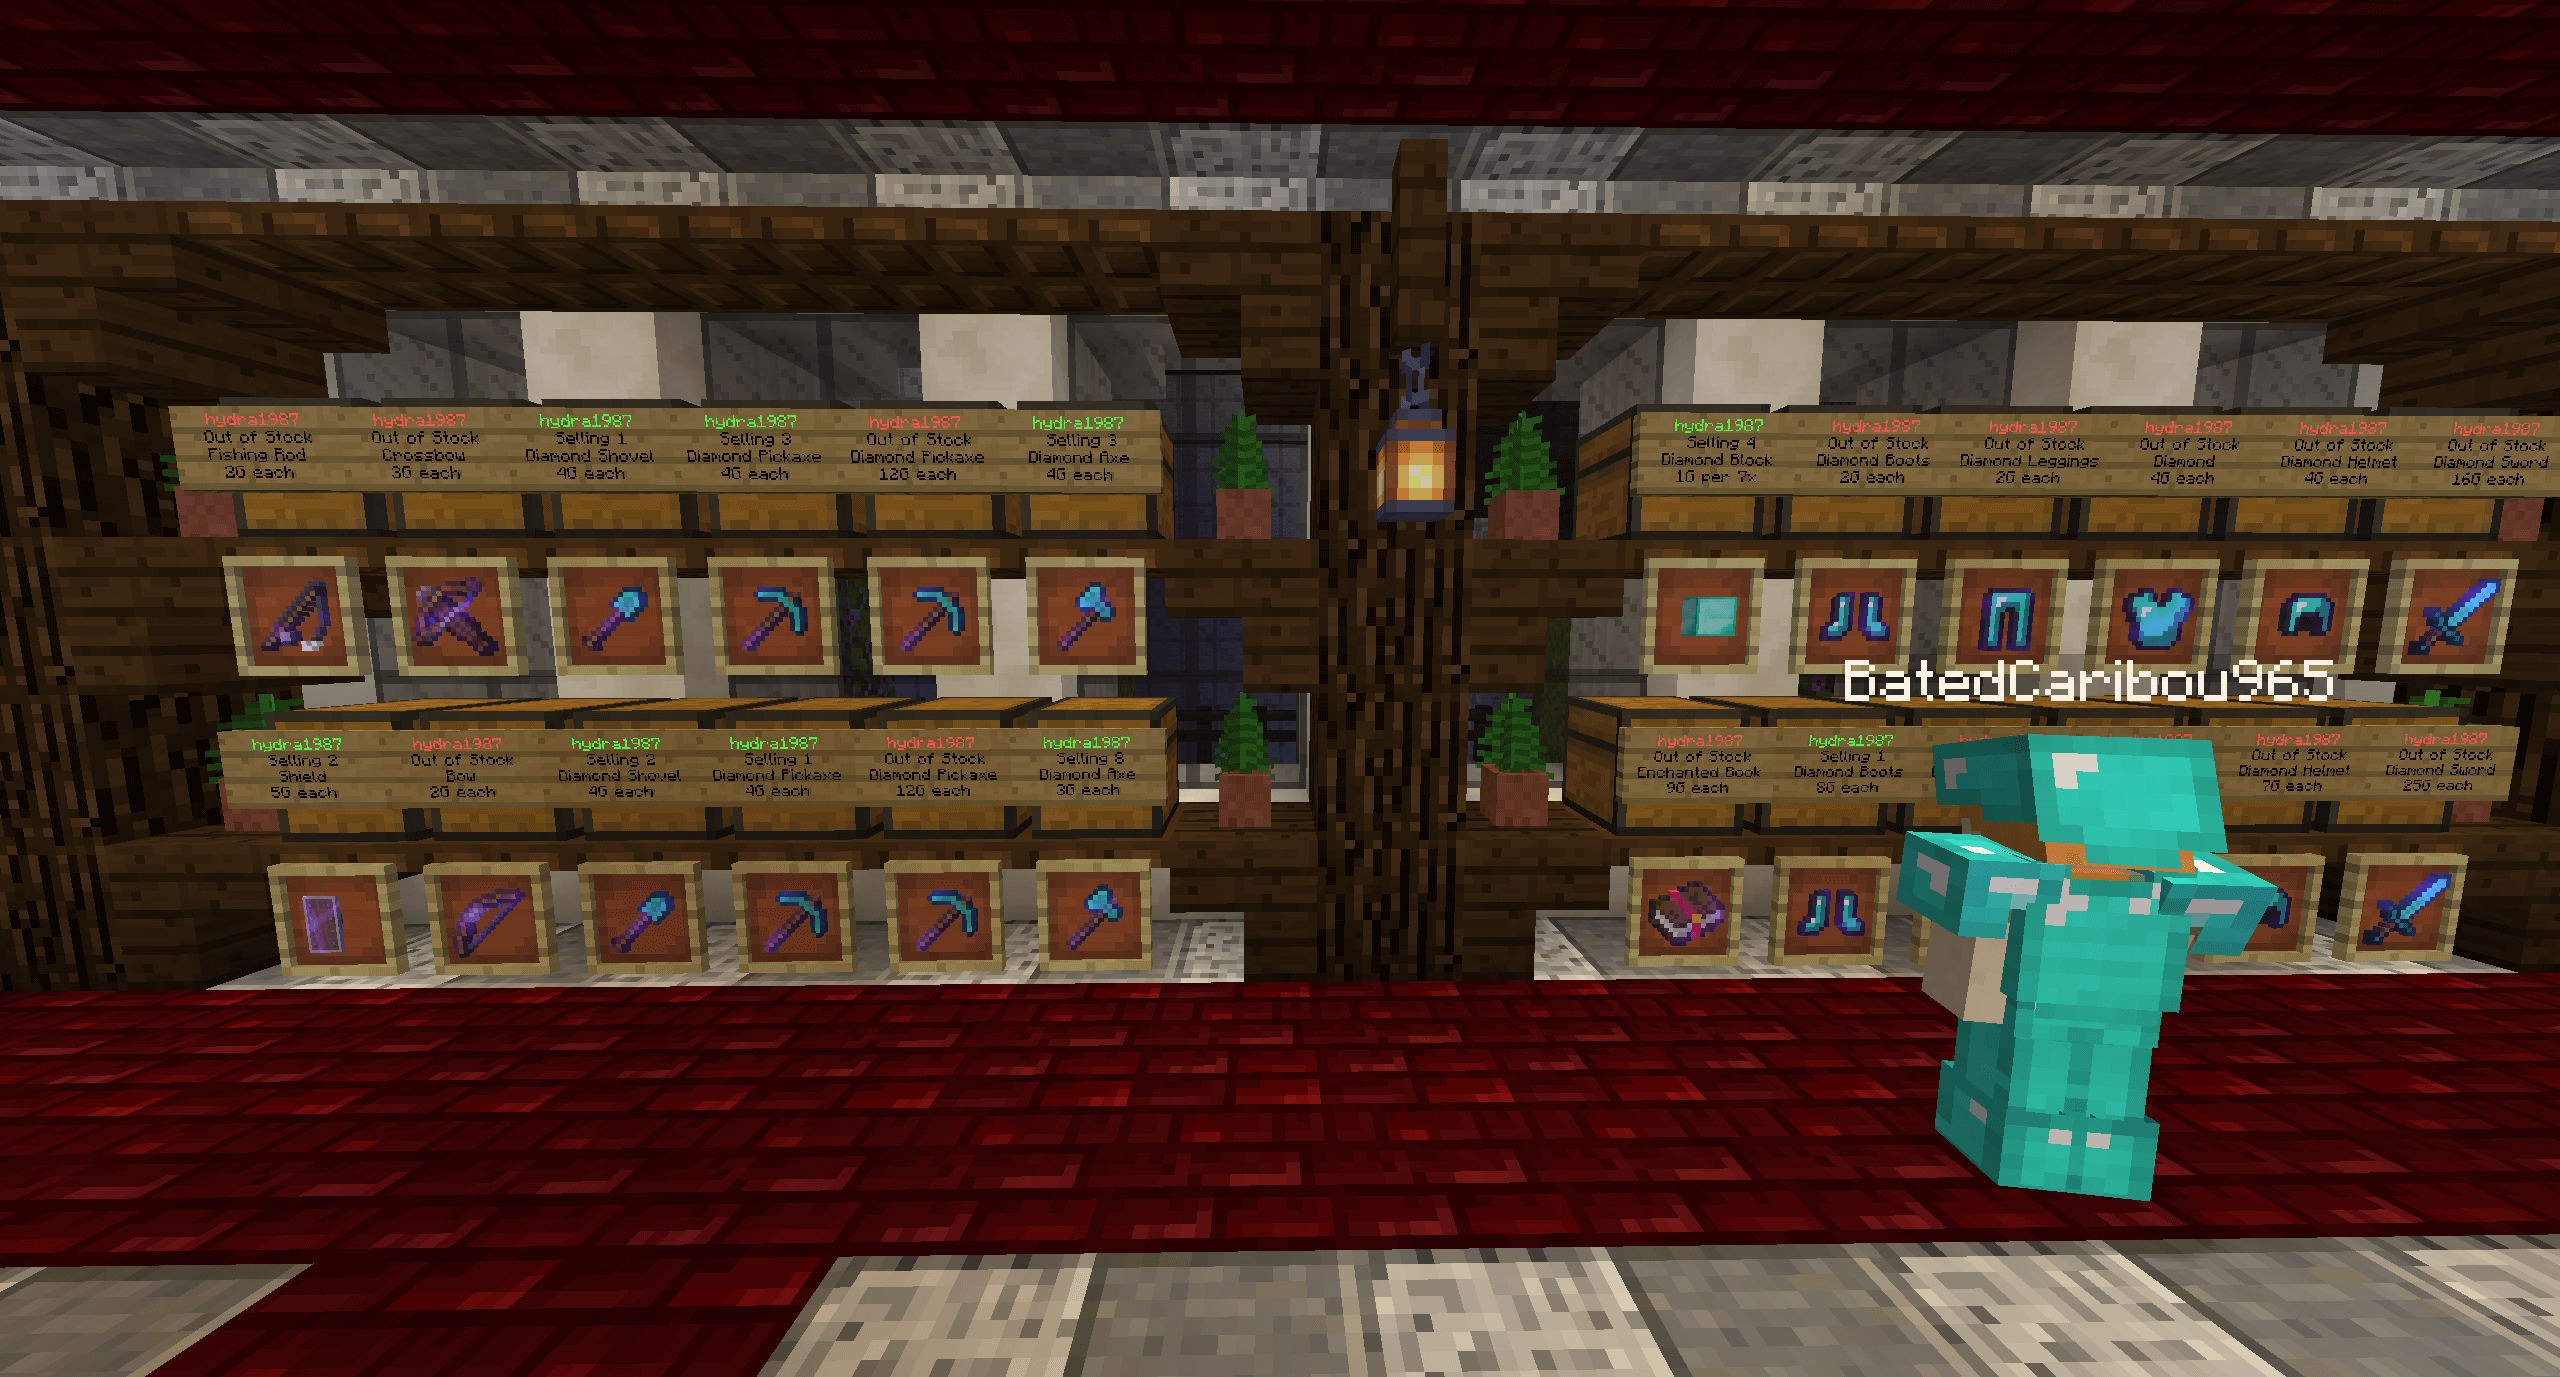
Create the Shop Structure: Build a simple or elaborate shop structure, depending on your aesthetic. Make sure to include chests where players can access items or resources.
-
Set Up the Chest: To set up a shop using ChestShop, you will need to:
- Place a chest where you want to facilitate trades.
-
On the chest, place a sign to register the shop.
-
Sign Information: The sign on the chest should contain the following information:
- Line 1: Type “Buy” or “Sell” depending on your shop’s purpose.
- Line 2: The amount of the item to sell or buy.
- Line 3: The item ID or the item name.
- Line 4: The price of the item.
Example:
[Buy]

   1

   Diamond

   100
- Final Touches: Once you’ve set up the sign, you can add more chests and signs to expand your shop offerings.
Step 5: Testing the Shop
After you have set everything up, it’s essential to test the shop to ensure it functions correctly.
-
Join Your Server: Log into your Minecraft server and go to the shop location you established.
-
Perform Transactions: Try buying and selling items to ensure everything works as intended. If you encounter any issues, check the console for errors or revisit the configuration files.
Step 6: Promote Your In-Game Shop
Once your shop is fully functional, don’t forget to promote it to the server community!
-
In-Game Announcements: Use server announcements to let players know about the new shop and what items are available.
-
Social Media and Forums: Share your shop on social media channels or community forums related to your Minecraft server to attract more players.
-
Events and Discounts: Consider hosting events or offering discounts to drive traffic to your shop.
Conclusion
Setting up an in-game shop on your Minecraft server can provide significant benefits by engaging your players and adding depth to their gaming experience. By following the steps outlined in this guide, you can create a fully functional shop that enhances the enjoyment of your server community. Happy crafting and trading!
