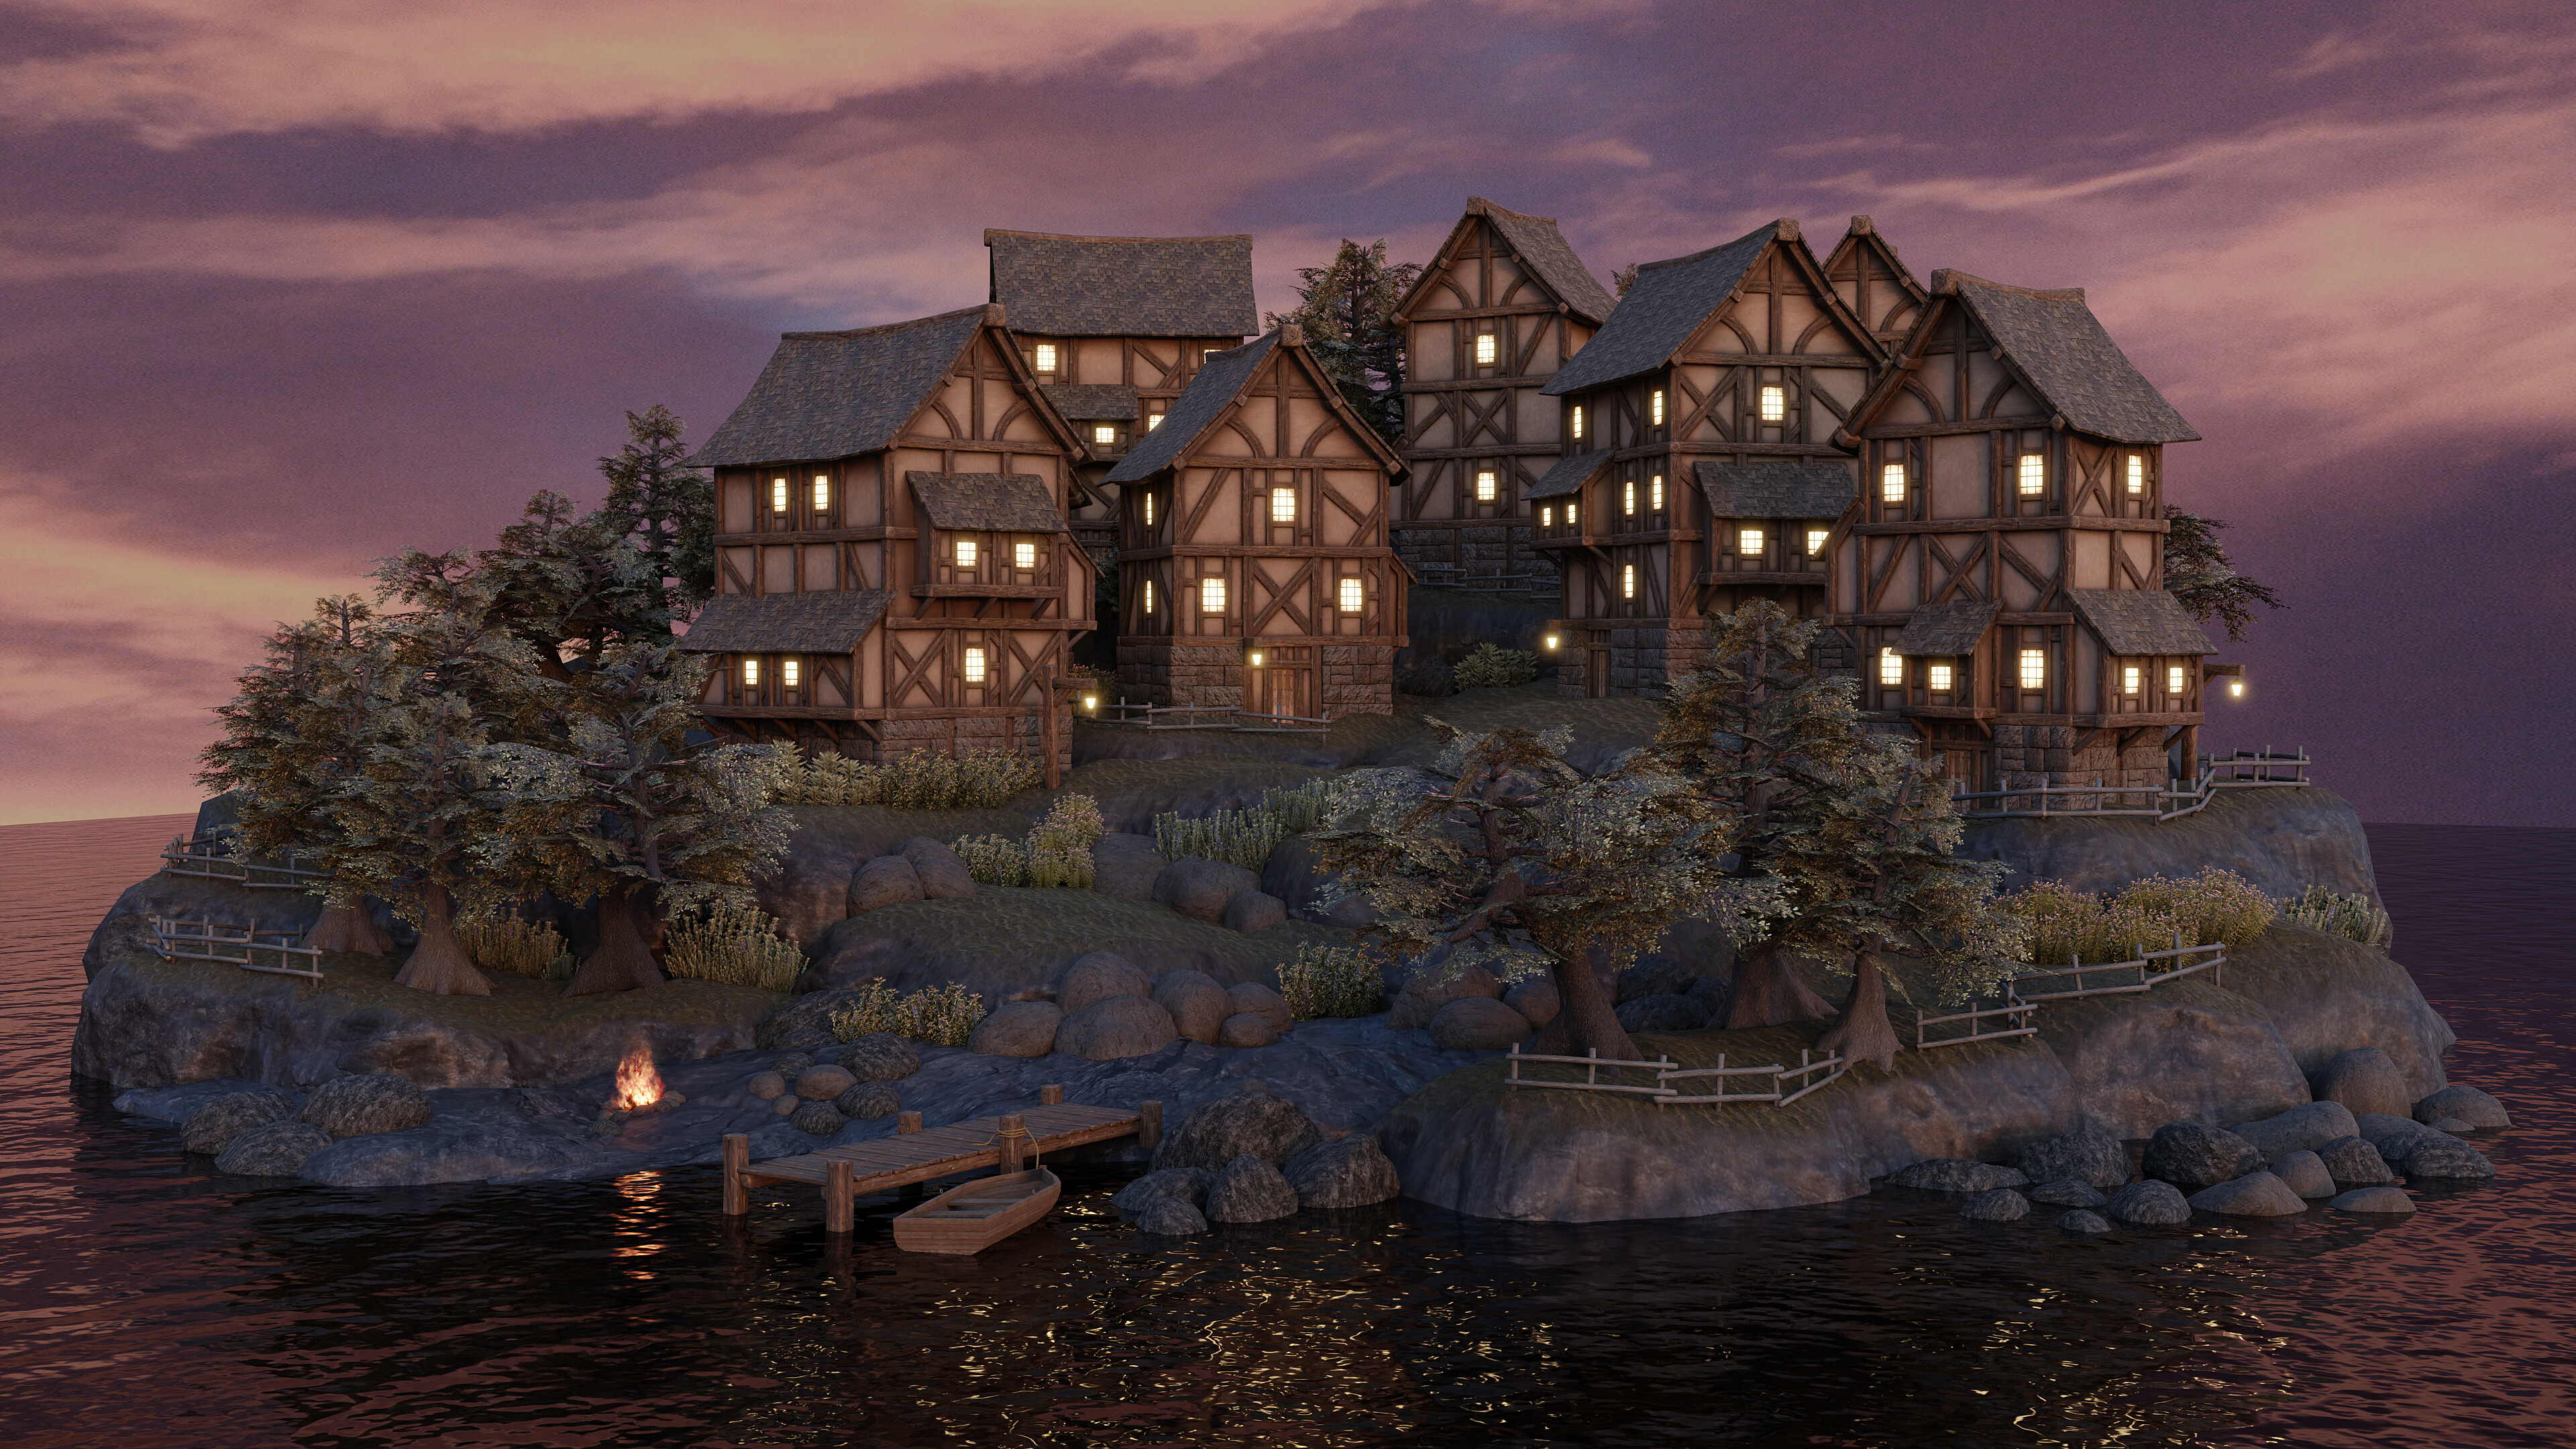
How to Build a 3D Game World in Blender: A Complete Guide
Creating a 3D game world can be an exciting yet daunting task, especially for those new to game development. Blender, a powerful and free open-source 3D modeling software, is a fantastic choice for constructing detailed and engaging environments for your games. In this guide, we will take you step-by-step through the process of building a 3D game world using Blender.
Step 1: Setting Up Your Workspace
Before you dive into the creation process, it’s essential to set up your workspace in Blender. Launch Blender and familiarize yourself with the interface. You can customize panels and layouts based on your preferences.
- Download and Install Blender if you haven’t already. Visit the official Blender website for the latest version.
- Explore the Interface. Take some time to understand the layout, focusing on the 3D viewport, the properties panel, and the outliner.
Step 2: Conceptualize Your Game World
Planning is crucial before creating your 3D world. Here are some tips to visualize your environment:
- Sketch Your Ideas: Start by drawing a rough sketch of your game world. Consider the layout, key locations, and landmarks that should be present.
- Research: Look at existing games that inspire your vision. Analyze their environments, lighting, and art styles.
- Define the Theme: Is it a fantasy world, a futuristic city, or a post-apocalyptic landscape? Define your theme to guide your design choices.
Step 3: Create the Base Terrain
With a clear vision in mind, now it’s time to create the terrain:
- Add a Plane: In Blender, go to the “Add” menu and insert a Plane. This will serve as the base for your terrain.
- Sculpt the Terrain: Switch to Sculpt Mode. Use brushes to mold the terrain, creating hills, valleys, and other features. Adjust brush settings to control the size and strength of your strokes.
- Texture the Terrain: To make the terrain more realistic, apply textures. You can do this by creating a new material in the properties panel and adding image textures for ground, grass, or rocks.
Step 4: Populate Your World with Objects
After establishing the terrain, it’s time to add objects and structures:
- Create Buildings: Use simple geometric shapes like cubes and cylinders to construct buildings. Don’t hesitate to use references from your sketches or images.
- Utilize Blender’s Asset Libraries: Blender comes with a variety of pre-made assets. Access these in the asset browser to find props like trees, rocks, and vehicles.
- Scale and Position: Ensure that every object is properly scaled and positioned in relation to the terrain. Use snapping tools to align objects accurately.
Step 5: Lighting Your Scene
Lighting can enhance the mood of your game world significantly:
- Add Light Sources: Use “Add > Light” to place light sources in your scene. Experiment with different types such as point lights, sun lights, and area lights.
- Adjust Settings: Change the strength, color, and placement of lights to achieve the desired atmosphere. You may also want to add ambient lighting for softer shadows.
- Consider Day-Night Cycles: If your game includes a dynamic day-night cycle, research techniques for simulating this in Blender by animating your light sources.
Step 6: Optimize Your Models
To ensure your game runs smoothly, optimization is key:
- Reduce Polygon Count: Use modifiers like the Decimate modifier to lower the polygon count of your models, especially for less critical objects in the distance.
- Texture Atlases: Combine multiple textures into a single atlas to minimize the number of draw calls during gameplay.
- Test Performance: Regularly check the performance of your game world within your game engine to identify areas needing optimization.
Step 7: Export and Implement into Game Engine
Once your world is complete, it’s time to bring it into a game engine:
- Export Models: Select your objects in Blender and go to “File > Export”. Choose an appropriate format like FBX or OBJ.
- Import into Game Engine: Open your game engine (Unity, Unreal Engine, etc.) and import the exported models. Ensure materials and textures are correctly applied.
- Set Up Collisions: In your game engine, set up collision meshes for your objects so that players can interact with the environment appropriately.
Conclusion
Building a 3D game world in Blender is a rewarding process that combines creativity and technical skills. As you follow these steps, remember that practice is key. Don’t be afraid to experiment with different techniques and styles. Embrace the learning journey, and soon enough, you’ll be able to create captivating worlds for your players to explore! Happy building!
