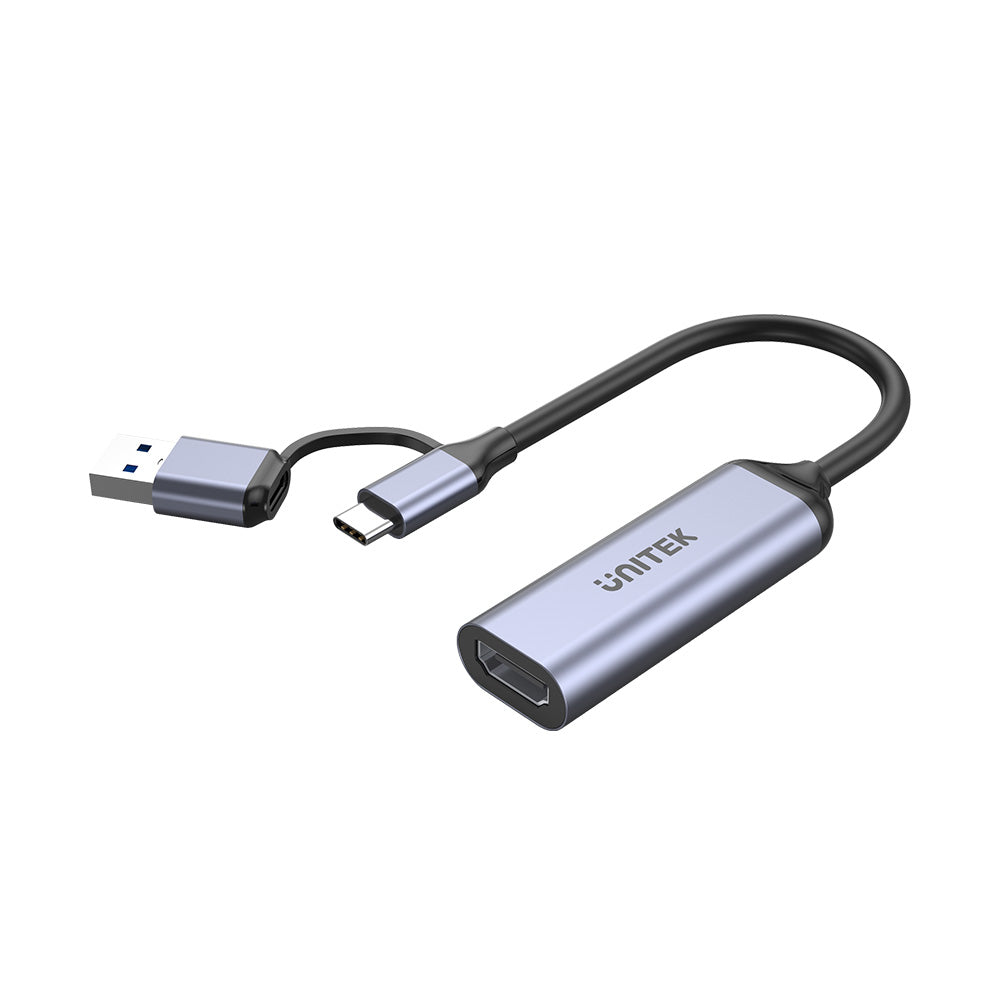
How to Game Capture with HDMI to USB Type-C: A Complete Guide
In recent years, game capturing has become increasingly popular among gamers and content creators. Whether you’re looking to share your gameplay on platforms like Twitch, YouTube, or simply want to preserve those epic gaming moments, using an HDMI to USB Type-C capture device can elevate your streaming and recording quality. This guide will walk you through the process of game capturing using HDMI to USB Type-C, highlighting the steps, equipment required, and tips for optimal results.
What You’ll Need
Before diving into the setup and process, here’s a checklist of the prerequisites you’ll need:
-
Capture Card: A reliable HDMI to USB Type-C capture card, such as the JVA04 Game Capture Station or any equivalent model that supports 1080p @ 60 fps video capture. Ensure it has features like 4K input and pass-through capabilities for the best performance.
-
Gaming Console/PC: Any modern console like PlayStation 5, Xbox Series X, Nintendo Switch, or a gaming PC.
-
Cables: You’ll need an HDMI cable (to connect your console/PC to the capture card) and a USB Type-C cable (to connect the capture card to your computer).
-
Recording Software: Applications like OBS Studio, Streamlabs OBS, or any other video capturing and streaming software. Ensure the software is installed on your computer.
-
Computer: Make sure you have a computer with enough processing power to handle the video capture and streaming.
Step-by-Step Guide to Game Capture
Step 1: Connecting the Hardware
- Connect the Gaming Console to the Capture Card:
- Take one end of the HDMI cable and connect it to the HDMI output of your gaming console or PC.
-
Connect the other end of the HDMI cable to the HDMI input of your capture card.
-
Connect the Capture Card to Your Computer:
-
Use the USB Type-C cable to connect the capture card to a USB Type-C port on your computer. This connection will transmit the video feed from the capture card to your computer.
-
Power Supply (if needed):
- If your capture card requires an external power source, make sure it is plugged in according to the manufacturer’s instructions.
Step 2: Setting Up the Software
-
Open Your Recording Software: Launch your chosen recording or streaming software on your computer, such as OBS Studio.
-
Add a Video Source:
- In your recording software, locate the “Sources” section and click on the “+” icon to add a new source.
-
Select “Video Capture Device” and name it as you like (e.g., Game Capture).
-
Select Your Capture Card:
- A new window will appear. From the device drop-down menu, select your HDMI to USB Type-C capture card.
-
Configure the resolution and FPS settings to 1080p@60fps if applicable.
-
Adjust Settings:
- Check other settings like audio input. Ensure the audio from the console is being captured by selecting the appropriate audio input source.
Step 3: Testing the Setup
- Start a Test Recording:
-
Press the record button to start a test recording. Play a few minutes of gameplay to ensure everything is functioning correctly.
-
Check Video and Audio Quality:
- After stopping the recording, play back the video to assess both the video and audio quality. Make adjustments in the software settings if necessary.
Step 4: Going Live or Recording
- Prepare Your Stream:
-
If you’re going live, ensure your streaming settings, like bitrate and resolution, are optimized for your internet connection.
-
Hit Record or Go Live:
- Once you’re satisfied with the setup and quality, either start recording or go live, sharing your gameplay with your audience!
Tips for Optimal Game Capturing
-
Optimize Your Settings: Adjust your recording settings based on your hardware. High-quality settings may slow down your computer, especially during intense gaming sessions.
-
Monitor Performance: Keep an eye on CPU and GPU usage during recording or streaming to prevent lag.
-
Experiment with Overlays and Alerts: If you’re streaming, consider adding overlays and alerts through your recording software to enhance engagement with your viewers.
-
Practice Makes Perfect: Familiarize yourself with the software and settings. The more you practice, the more professional your captures will look.
Conclusion
Game capturing with an HDMI to USB Type-C capture card is a straightforward process that can significantly enhance the quality of your gaming content. By following this guide, you’ll be well-equipped to set up your game capture station, ensuring that you capture every thrilling moment with stunning clarity. Whether you’re streaming live or recording for later, having the right setup will make all the difference in delivering an engaging experience for your audience. Happy gaming and capturing!
